Fixing Homebrew & Zsh Issues After macOS Upgrades
macos shell zsh homebrew
Note: This post was originally written during my upgrade from Catalina → Big Sur (2021). While macOS has since advanced (now Sequoia, 2025), the troubleshooting steps for Homebrew, Zsh, and oh-my-zsh remain broadly applicable when upgrading between versions.
I recently upgraded macOS from Catalina to Big Sur. While many new features worked smoothly, the command line broke in a few places.
This post notes the fixes for some of the issues I encountered—specifically around Homebrew and ZSH.
Homebrew Fixes
- Ensure Xcode is installed:
xcode-select -pIf missing, install via the App Store and then:
xcode-select --install- Diagnose Homebrew:
brew doctorIf Java cask issues occur:
brew uninstall --force java
rm -r "$(brew --prefix)/Caskroom/java"
brew install java
Finally, confirm:
Your system is ready to brew.ZSH Fixes
Big Sur made Zsh the default shell. My setup broke because my terminal was still loading ~/.bash_profile instead of ~/.zshrc.
- Verify current shell:
echo $0Output showed /bin/bash → meaning I wasn’t in Zsh.
- Fix: In Terminal.app Preferences, change shell to open with the default login shell (
/bin/zsh).
Bonus Tips
- Uninstall oh-my-zsh manually:
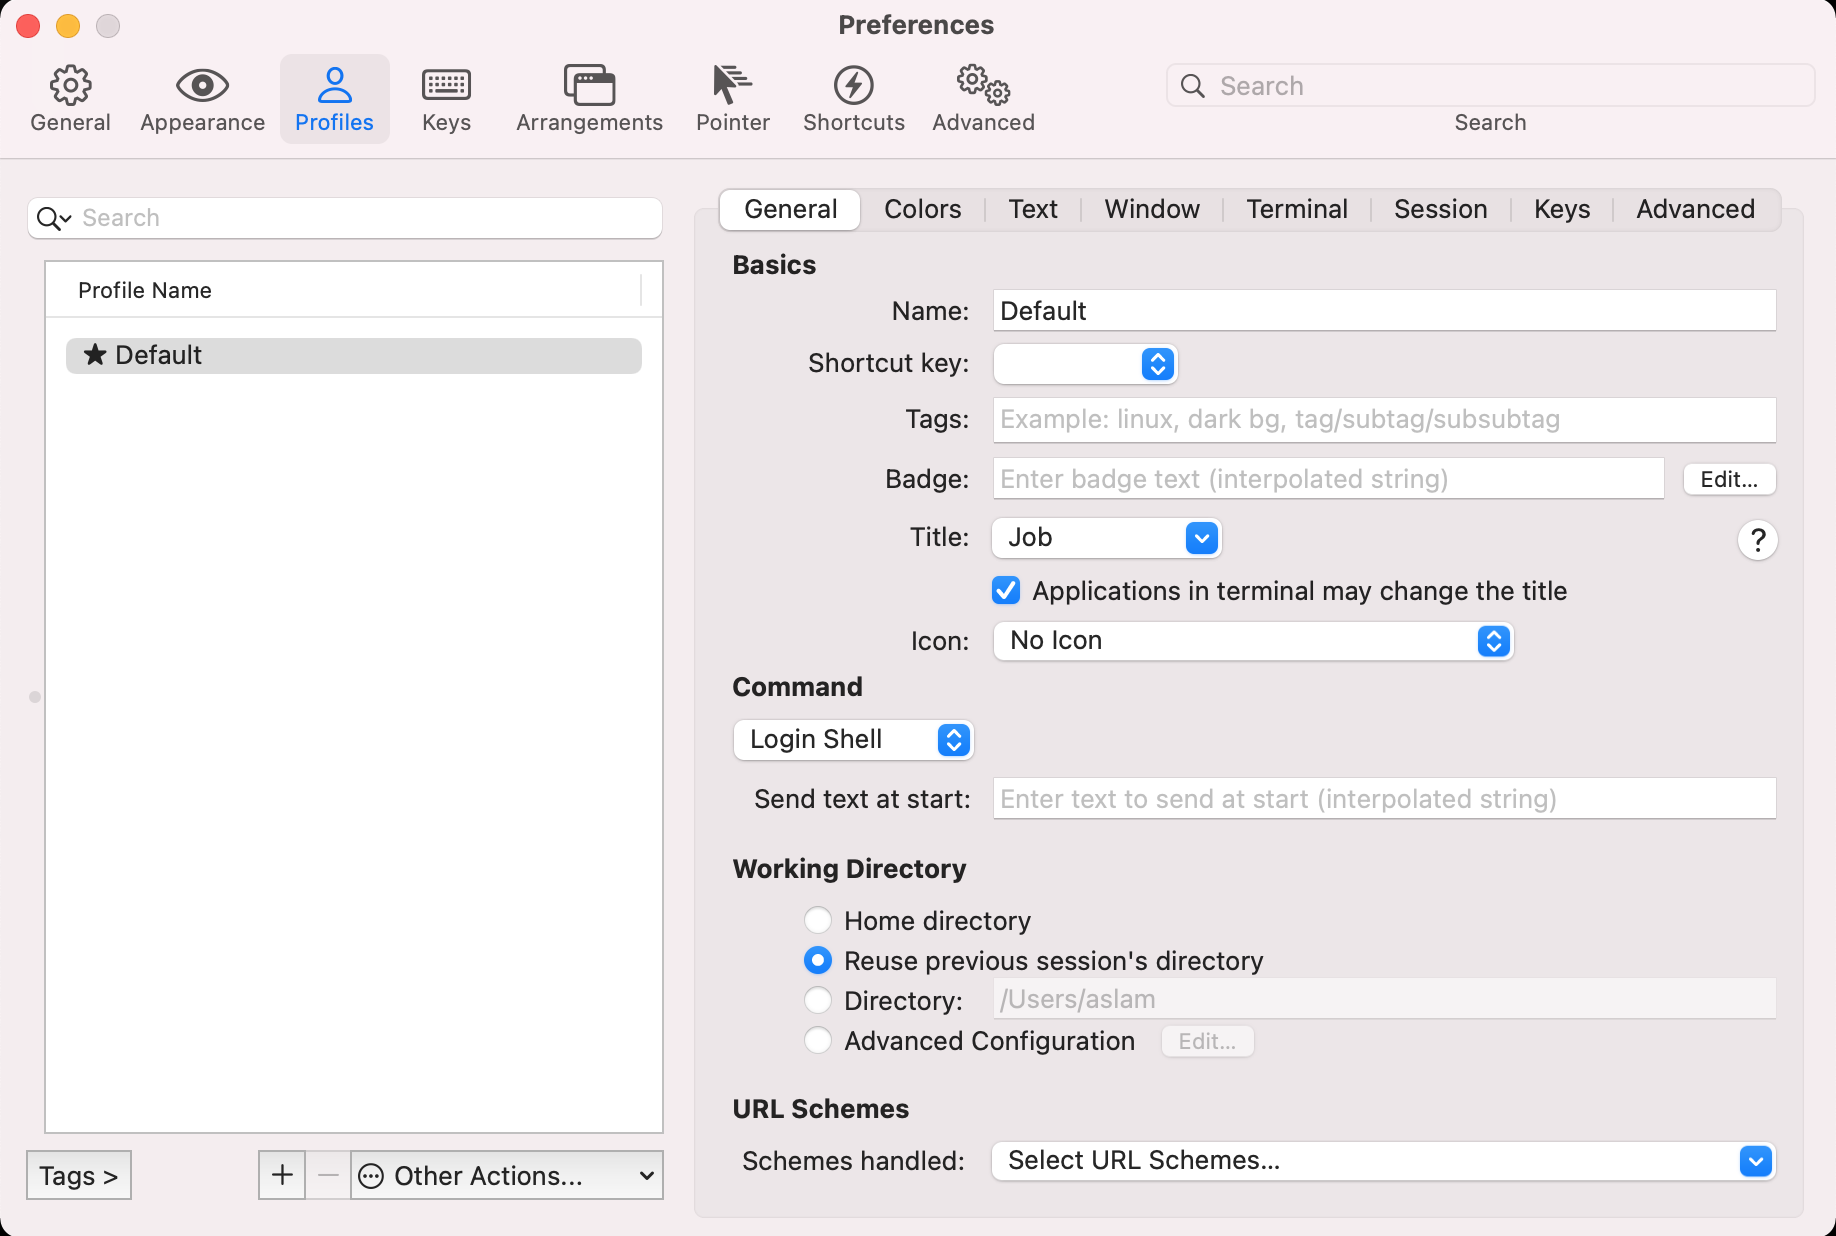
sh ~/.oh-my-zsh/tools/uninstall.sh- For iTerm, change shell in:
iTerm > Preferences > Profiles > Login Shell
Wrap-up
- After a macOS upgrade, always run
brew doctor. - Ensure your terminal app is configured to use the correct default shell (
/bin/zsh). - Reinstalling oh-my-zsh or other shell frameworks can resolve path issues.
These steps should help you get back to a working command-line environment quickly.